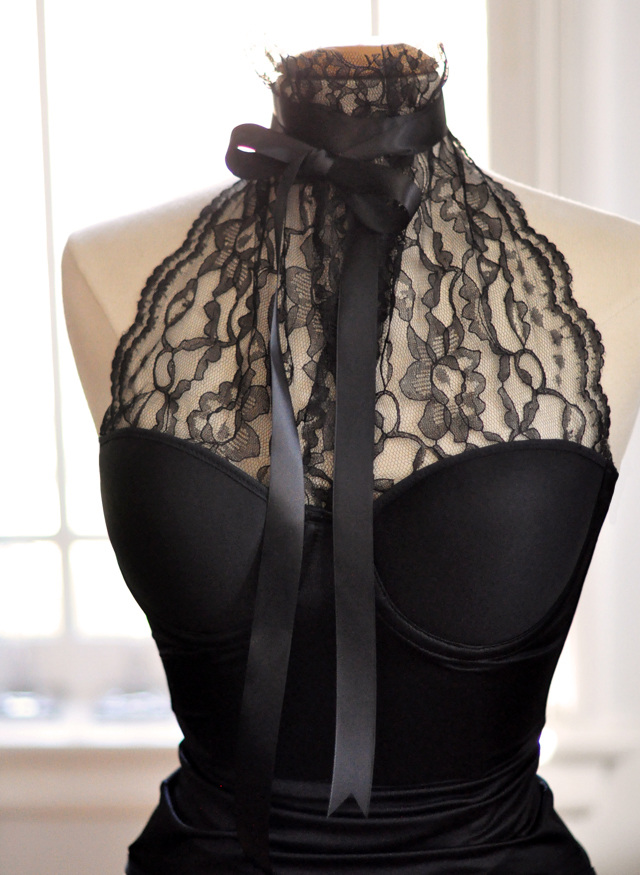
I love the idea of wearing a bustier on the outside rather than as an undergarment… I suppose Madonna gets all credit for such inspirations but with the added lace halter, it really feels more Old Hollywood Glamour than Like a Virgin. I ended up using a simple black satin bustier I had lying around found at a department store because it will look quite nice with a great pair of high waist pants or a pencil skirt. But the project would be equally great using a vintage bustier, & yet another excuse to go thrift store shopping! {Also note: Halloween is around the corner}

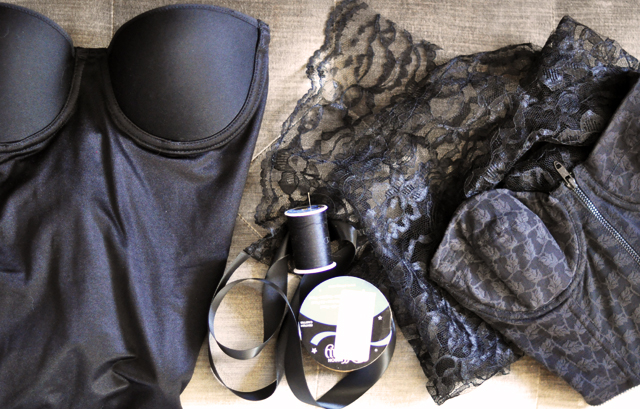
* Black Bustier
* Black Lace
* Black Satin Ribbon
* Needle/Thread/Scissors

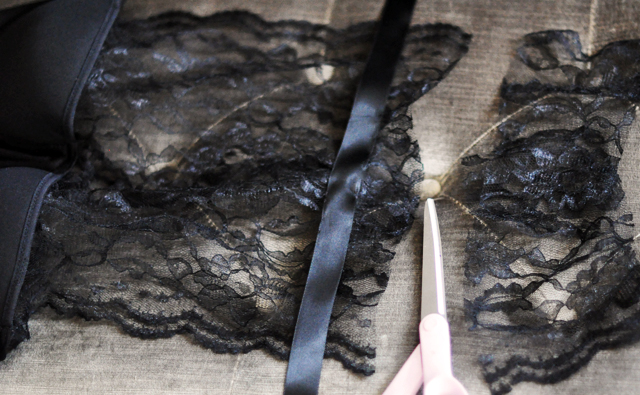
* Line your lace up with your bustier cups… make sure the pretty edge of the lace in on the outside closest to your arms. Decide how much lace you need by measuring or just eyeballing it and make sure to leave a little extra so the panels can overlap in the center.
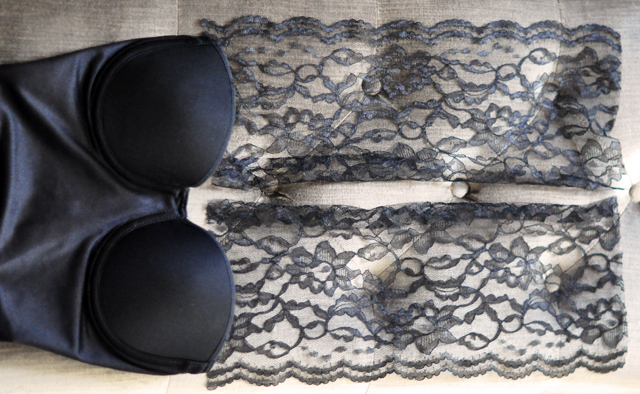
* Cut two pieces of lace at least 12″ long to be safe. One for each side.
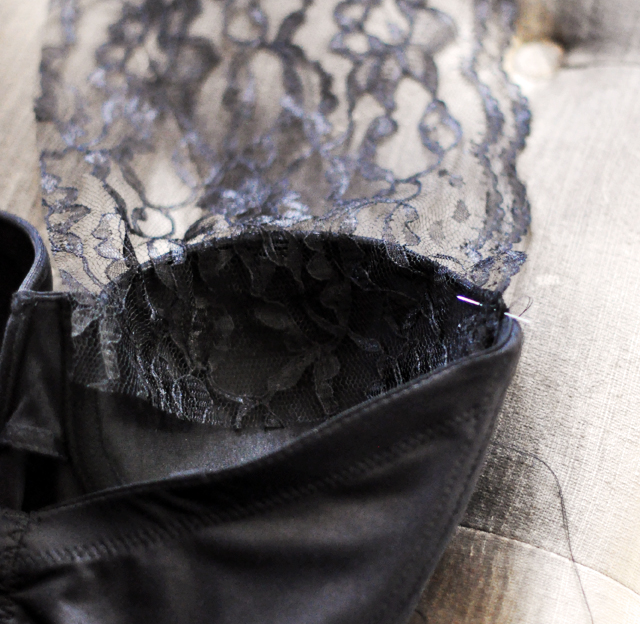
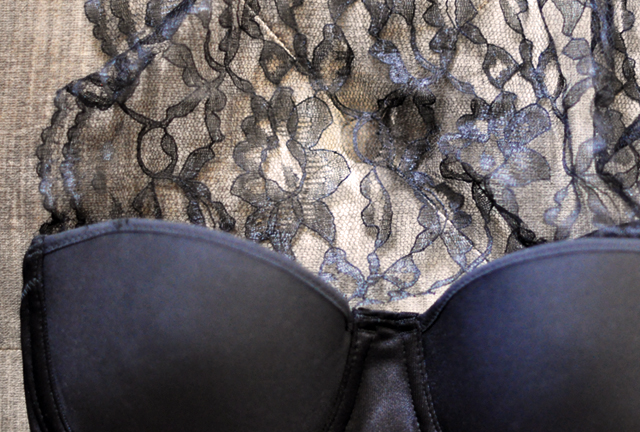
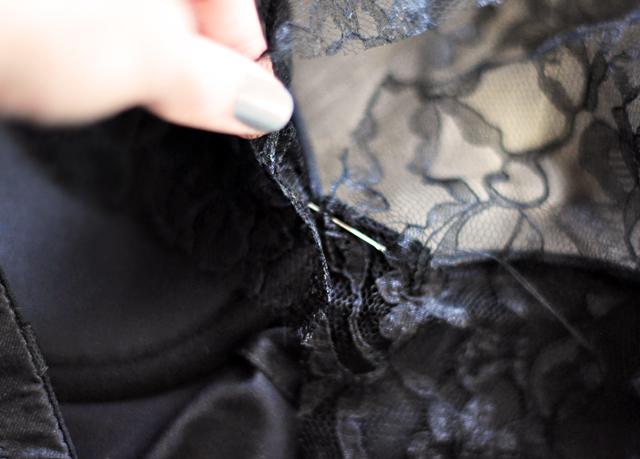
* Flip your bustier inside out. Lay your lace in one of the cups at an angle, lining up the pretty edge with the edge of your bustier.
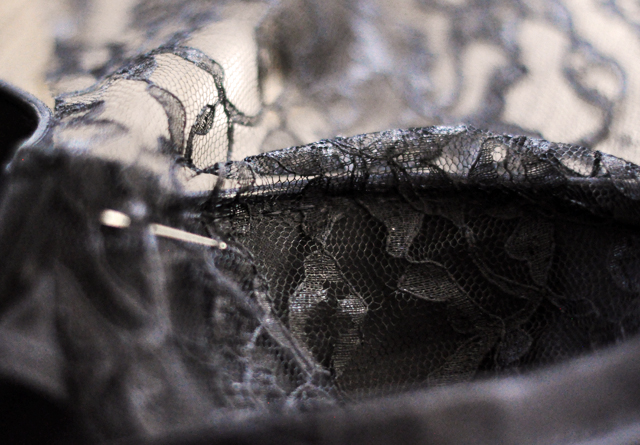
* Carefully hand-stitch the lace to the inside of your bustier cup, right below the seamed edge… or about 1/4″ down. Don’t let your needle pierce the front of the bustier.
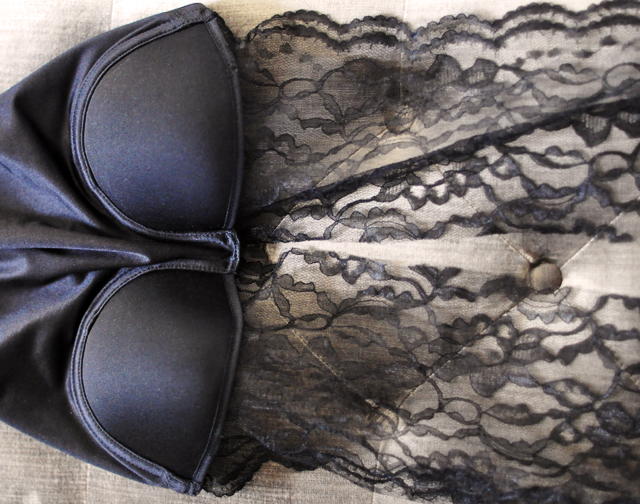
* It should look something like this lying flat.
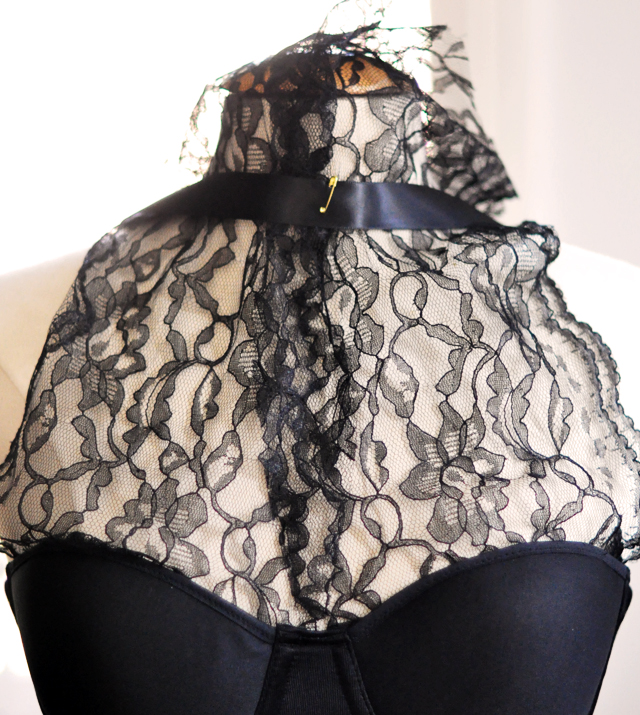
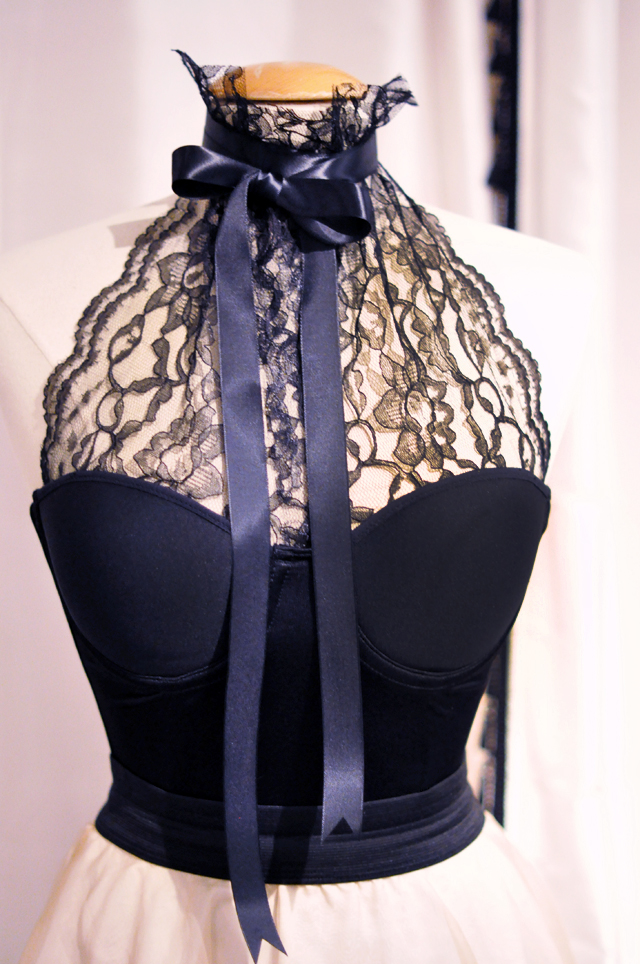
* Try your garment on. Cross one panel of lace over the other and taking your ribbon, mark with a safety pin where your neck is… or, where you want your ribbon to tie. Cut your ribbon extra long to give you the option of tying it in the back or crossing it back around to the front as pictured.
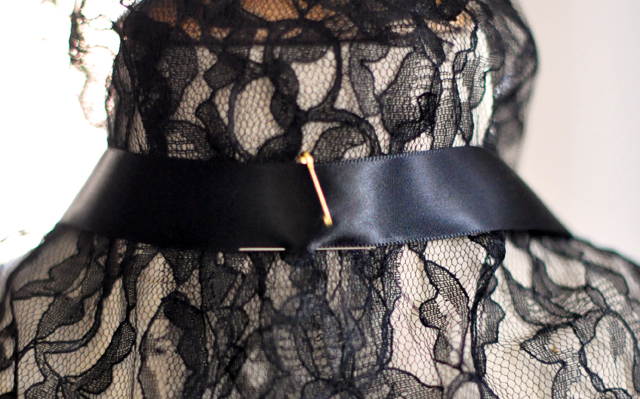
* Readjust your lace to make sure it’s crossed over neatly and with your needle and thread carefully hand-stitch the edges of your ribbon to your lace. You only need to stitch down the front -or from side to side. In my case, it was about 6 inches.
* Trim off the extra lace at the top… this is a personal decision. If you want it longer, keep it longer. I cut mine down to about an inch and a half.
* Stitch your two panels together only at the center, not all the way up {though I suppose you can if you wish}

* Trim the excess lace in the cups

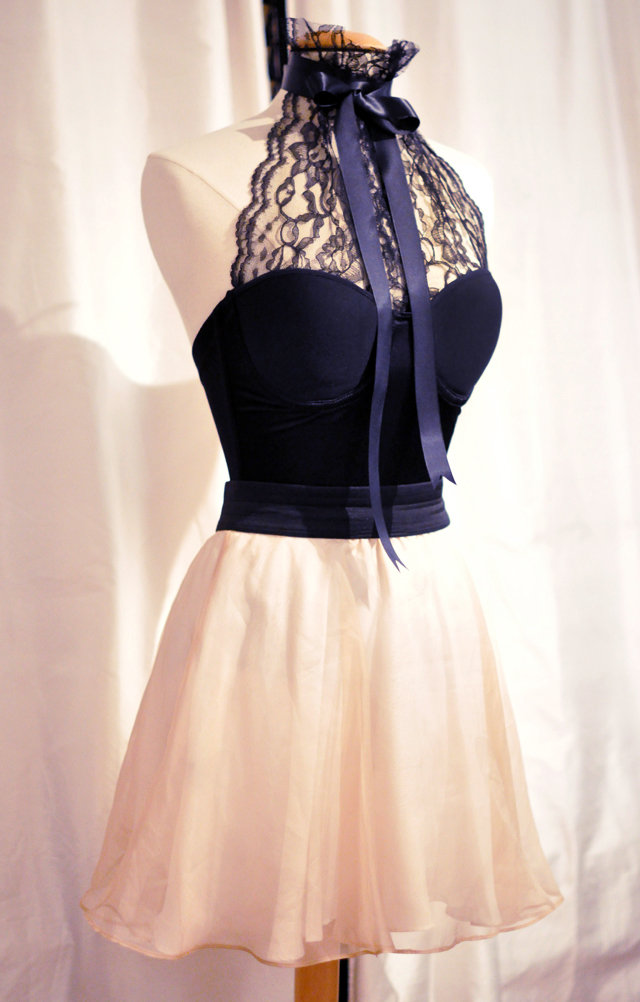
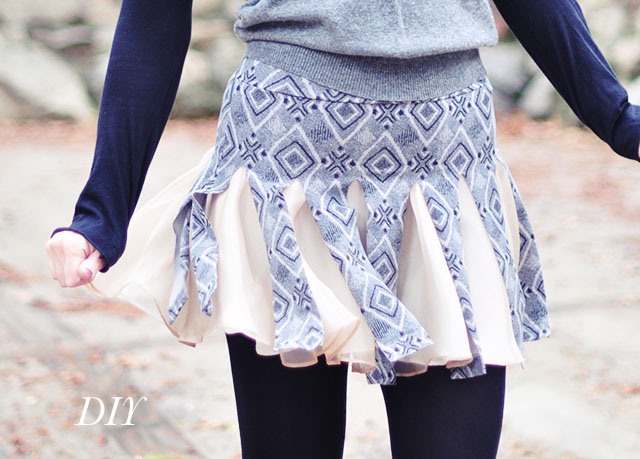
* show with a Leyendecker ballet skirt*
See how I wore it : Feel the Beat From the Tambourine