Enjoy! Find the written steps below the photo tutorial…
Kate Middleton’s famous half up hairstyle: “It is very easy, practical and should take less than 10 minutes to complete,” explains Latest-Hairstyles.com guest contributor Natalia Simmons.
“The great thing about it is that it can work on many hair types, lengths, and styles. You can keep it straight, or try it with curly hair. However you do it, I hope you give this Kate Middleton hair tutorial a try. Enjoy having princess hair for a day!”

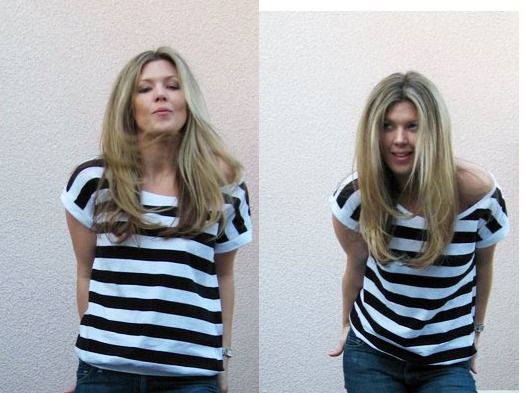
1. It’s best to start with mostly straight smooth hair, but a bit of curl at the bottom. This seems to be a favorite look of Kate’s.
2. Tease your hair at the crown and back a bit, but not all the way to the nape of the neck, just at the top.
Create a mini bouffant, like a mini snooki poof, but just at the crown of your head, leaving out the front. Secure with two bobby pins going straight across.
3. Starting on one side {it doesn’t matter which} take the front section of hair that you had left out. Pull it back and across, twisting at the end. Secure on the far side of the half up.
4. Repeat step 3 but with the remaining side securing on the opposite side as well… going back to the side you started with, take a section of hair from under the first section and pull over and across, lightly twisting as you go. Secure with a bobby pin on the far side, so the hair is brought all the way over {hiding your bobby pins beneath/within}
5. Repeat step 5 with the opposite side.
6. Voila! You’re done! You can fluff a little, smooth it out or add some hair pins or pretty barrettes to make sure there are no bald spots showing, but other than that, you’re done!