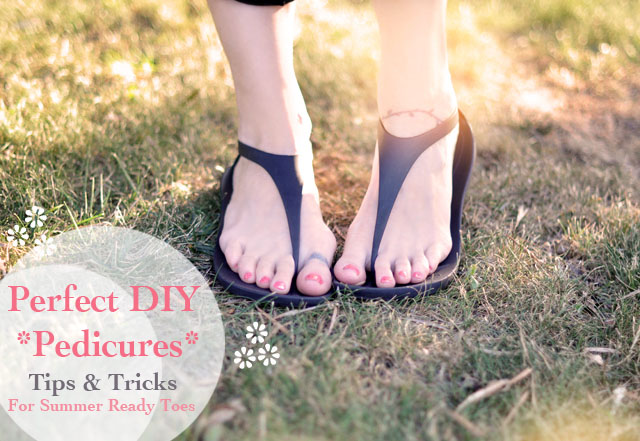
For as many manicure DIYs and nail art tutorials circulating around the internet, pedicures and foot maintenance seem to be far less buzzworthy. Which makes sense really, because feet are ugly, unless you’re into that kind of thing, of course. But also, for many seasons, our toes are hidden in the deep, dark tips of our shoes and our heels concealed in socks. But as Summer quickly approaches, it’s time to get our feet ready and our toes pretty! And even though professional pedicures are relaxing and fabulous, they’re also expensive to keep up, take precious time away from our busy schedules, and I always think Why pay someone for something I can easily do myself?!
I turned to celebrity manicurist and owner of As “U” Wish Nail Spa, Skyy Hadley, for her insider tips to the perfect at-home pedicure to get your feet Summer ready in no time at all!
* How often should you get a pedicure…
– You can never care for your feet too often, but weekly pedicures aren’t necessary either. Once every 2 weeks is sufficient during the Summer months.
* Tips for making color last longer and look amazing…
– A clear top coat is your best friend. Be sure to apply a top coat on the third day of your pedicure (or manicure).
– Never use a protein enriched and strengthener product together. Using both will cause your polish to crack. Try to only apply a nail protein to bare nails.
– Applying a cuticle oil to your nails when they are already polished will hydrate and bring moisture into the skin, helping the polish last longer.
– Apply cuticle oil to the base of your toe nails, focusing around the cuticle area to keep your pedicure looking great.
* Feet maintenance and how to prevent your heels from cracking…
– Milk pedicures will save the day. Mix a half cup of hot water with one cup of milk and add a spoonful of sugar – this will moisture and prevent calluses.
– Working a foot scrub into your heels is a great way to remove dead skin. Avoid using pumice stones since they trap bacteria and try using a diamond file instead. After feet are fully exfoliated, rinse, moisturize with a non-greasy lotion, and begin painting.
– Shea Butter, light oil, or Vaseline can be used to moisturize the heals and help prevent cracking.
– If you have blisters, leave them for the professionals (you’ll end up doing more harm than good if you try to pop them).
And now we’re on our way to prettier feet and perfect toes for Summer… I pocketed a few tips for my at home manicures as well!
* photo via this outfit post… psst! those are Crocs