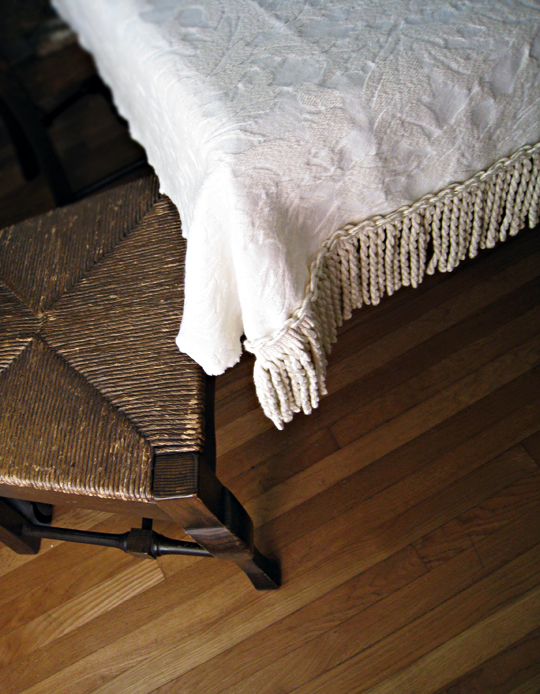
My home office sitting area is in constant flux. I originally purchased a few black velvet chairs for the space, but quickly realized they weren’t comfy/cozy enough for actually using them for what I wanted, though they looked nice. Luckily, when I bought them, I knew they’d also work in the master bedroom {which I’ve yet to complete}. But when I found this vintage wingback chair {above}, I recently relocated them so it would fit nicely into my office.
But it wasn’t enough…
I’ve always wanted a chaise in here, to relax on, read or even watch TV on, but most are expensive and quite large, and I didn’t think I’d find one to fit the space. For some reason, I have a particularly low budget threshold for furniture, but not for shoes… so when I found this little black chaise, with a similar arm, back, and legs as my new vintage chair on Amazon {via Wayfair} for $208, I pounced on it hard. I also had some credits at Amazon, making my new chaise a whopping $66 and at that price, even if it didn’t work, it wouldn’t be too much of a loss. ALSO, the seat lifts up for storage! Photo below via Wayfair

My original goal with the vintage chair was to gold leaf the legs to hide a few flaws {though I haven’t gotten to it yet as you can see in the top photo}. So when this little chaise arrived, I took advantage of the fact that the legs weren’t attached to the piece yet and got my DIY on.
Rather than gold leaf though, I found this gold rub I picked up a while ago when I purchased all my gold-leafing materials. Having never used it, but feeling it would be slightly easier than gold-leaf, I thought I’d give it a try and I LOVE the results. It’s so easy, it literally took minutes!

It’s called Rub’n Buff and I used Gold {but I bought silver as well}.

This is what the legs looked like before…
I simply cut up an old towel, squeezed a bit of the gold rub onto the leg, and rubbed and buffed it with the towel rag until I achieved my desired affect. It spread easily and dried in seconds. Though it was a little pungent, so make sure to do it in a ventilated area, or outside, like I did.

I love the imperfect look it gave the legs, like they are truly antique {or at least faux ’60s antique, which is good enough for me}.
And… Voila!


That little gold chair in the corner is new too! I found it at a local thrift shop for $34 and while I was going to use it as a piano chair, I liked it as part of my sitting area better. Of course, it will most probably change again though.
See more of home office sitting area to find other furniture details and My Home Office Sitting Area: DIY Brass Birds
Happy Friday Lovecats!