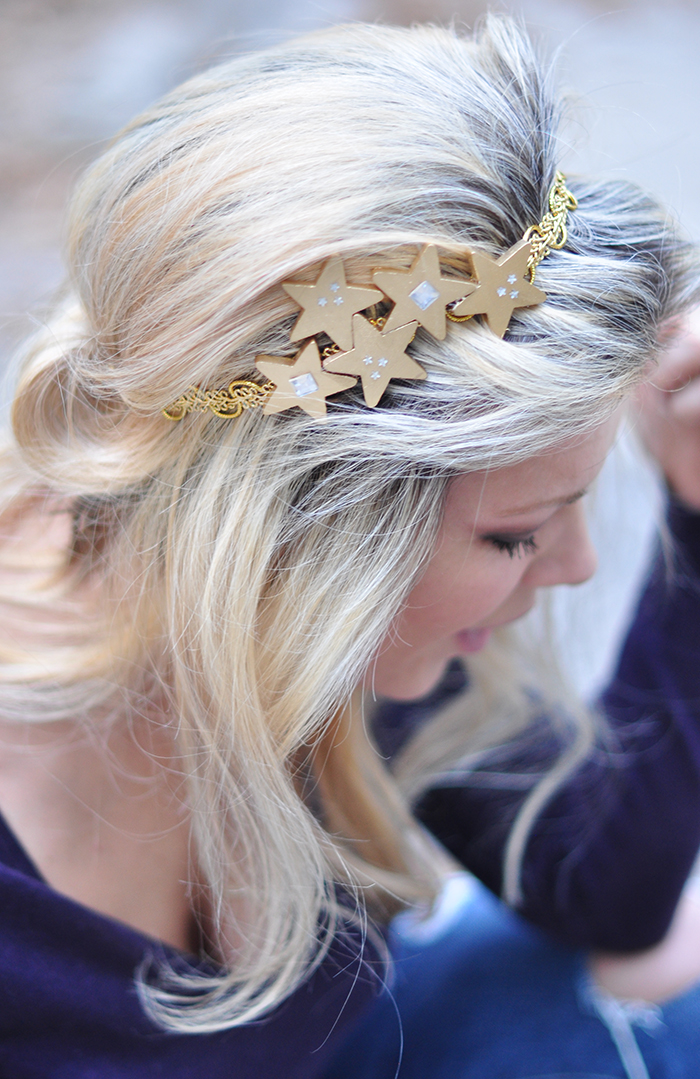
Last month I was asked to create a cute starry night headband for a DIY hair Accessories feature focused on prom in an upcoming magazine (I’ll share it when it comes out)… and so with a bit of a youthful inspiration, I created this… but in the mean time, the magazine sent me a totally different headpiece they wanted me to create via that particular inspiration… SO, this one won’t be used, but I thought I may as well share it here anyway because why not?
While this DIY has quite a few steps, it’s actually pretty easy, and really, you can create something similar with any theme in mind. But for Prom and the Holiday season, gold and stars are always appropriate 🙂
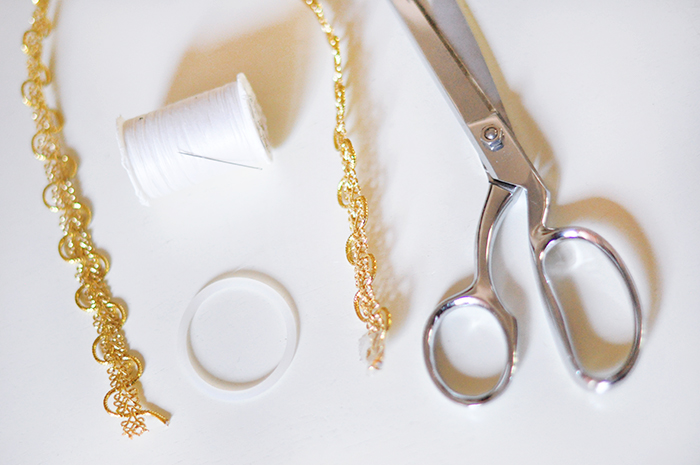
Here’s What You’ll Need…
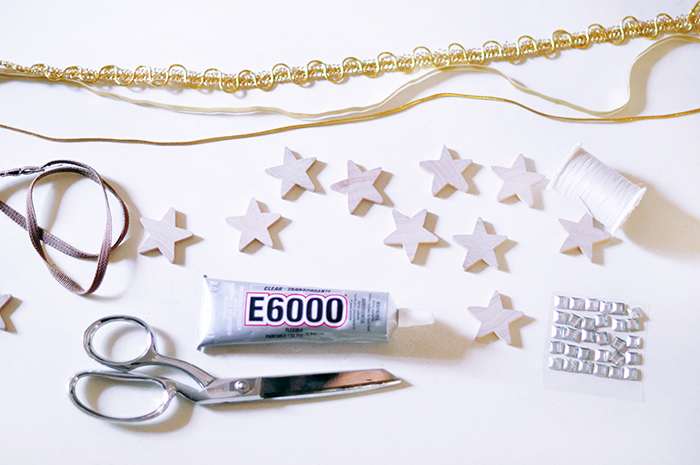
- Decorative gold trim
- Wooden stars
- Star crystals
- Hair elastic
- Needle/Thread/Scissors
- E 6000 Adhesive glue
Steps…
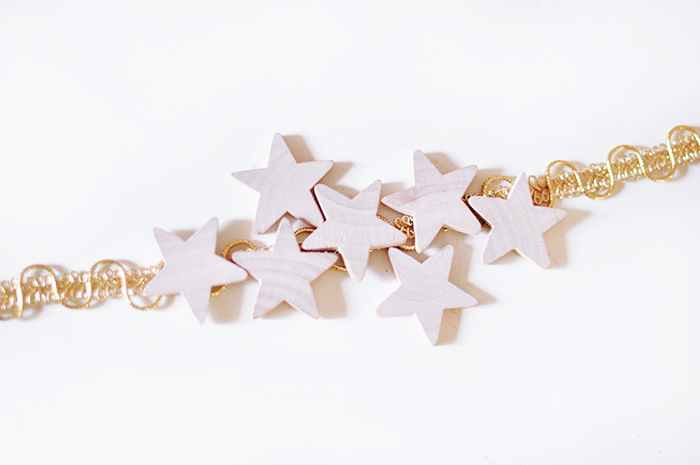
Decide how many stars you want to use and what kind of layout will work for your headband.

In a ventilated area, spray paint your wooden stars gold and allow them to dry.
While your stars are drying, measure (and cut) the amount of gold trim you’d like to use for your headband by simply holding it up around your head to end somewhere behind your ears or near your neck.
Include about a half an inch to each end for stitching.

Set your hair elastic at one end, fold over your gold trim and stitch it to itself.
NOTE: Before stitching the opposite side, measure it around your head once again to make sure you have enough trim and elastic to sit comfortably in place.

Repeat the step above to create a cute little gold trim headband.
NOTE: You can create a simple and pretty little stretchy headband with just about any trim you like!
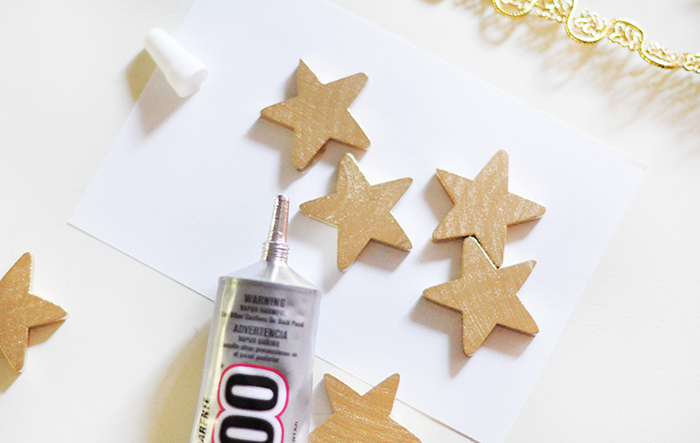
In a ventilated area, glue your stars together to create your starry night headband.

I used five stars but began with the two center stars and worked out from there, glueing the star sides together as I went.
Allow to dry overnight.

Add starry crystals and embellishments for a little more bling or paint on some gold glitter for even more sparkle!
And… Voila!
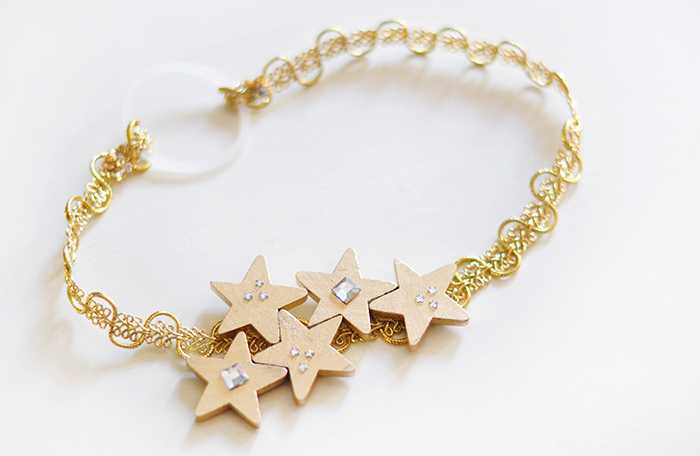
I wore it on the side but it actually looked pretty cute right on the top/center/front of my head like a little starry tiara.

Have Fun!
* Find all my DIY Tutorials here
* Find all my Hair Accessory DIYs here