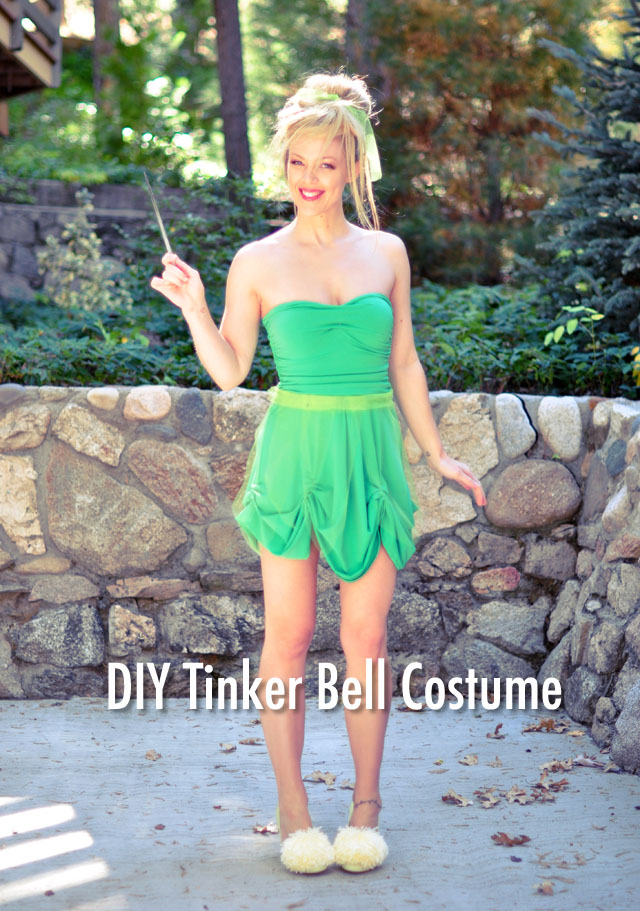
Each October, I generally do a really big Halloween costume DIY complete with hair and makeup tutorials, but I really couldn’t decide what to do this year. Instead, I’ve been super crafty and creative with much smaller Halloween projects, which is pretty fun for a change.
I found this glam embellished skull on Pinterest recently and since I have a few different decorative Halloween skulls, I thought it would be great to try it out. I have to admit that I still kind of like my inspiration skull better, and it has everything to do with the shape of the skull. It just looks more real, yet somehow less scary at the same time, and it has more space on the face for bejeweling, which I like.
The skull I used was pretty detailed to begin with, but offered the most area for jeweling AND I kind of liked all the pearls in the mouth too… it reminded me of a pirate ship treasure trunk, which always seems to include a skull dripping with jewels. OR is that the Haunted Mansion at Disneyland I’m thinking of? ALTHOUGH, with the spider on top, it almost looks like a web of spider eggs as well… Either way, it’s a fun Halloween project and makes for fab decor for the season. You could also paint it beforehand, but I liked the spookiness of the bone color.
Inspiration…

Here’s What You Need…

- Decorative Halloween Skull
- Pearls, gems, rhinestones
- E6000 adhesive glue {hot glue gun would probably work as well}, q-tips
Steps…

- Clean your skull and let it dry and make sure you’re working in a ventilated area if using this glue. It’s STRONG!
- Decide where you want your embellishments to go… I wanted to cover most of the details on the skull to showcase the jewels.
- I began in the eyeball and worked with mostly loose pearls from tiny to large, with random rhinestones in between.
- I filled the eyeball with glue and placed my medium pearls in a circular pattern to give my large pearl a nice place to rest on.
- Continue adding pearls and gems until you like the look. It’s as simple as that, and let it dry overnight.
- I used white glitter glue to cover up the red on the teeth and lighten the spider, details that may or may not be included on your skull
Before and After…

And… Voila!


Have Fun… Happy Halloween!
* Find all My Halloween Inspired Decor & DIY Costumes here


