What You’ll Need…
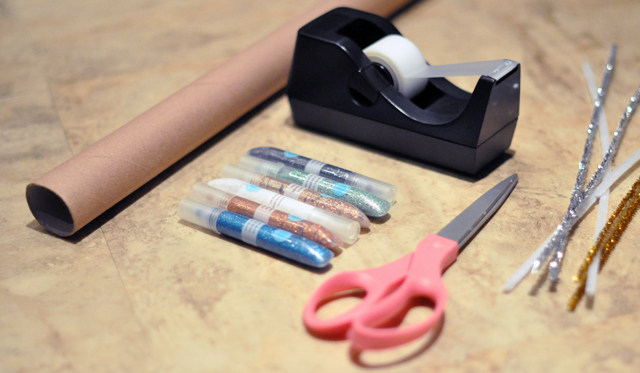
* Wrapping paper roll {or several paper towel, toilet paper rolls}
* Tape {you could use a hot glue gun instead}
* Scissors
* Pipe cleaners
* OPTIONAL: Martha Stewart Glitter Glue, or simply glue and loose glitter. You can also choose to paint {spray or brush} in a solid color of your choice.
Steps…
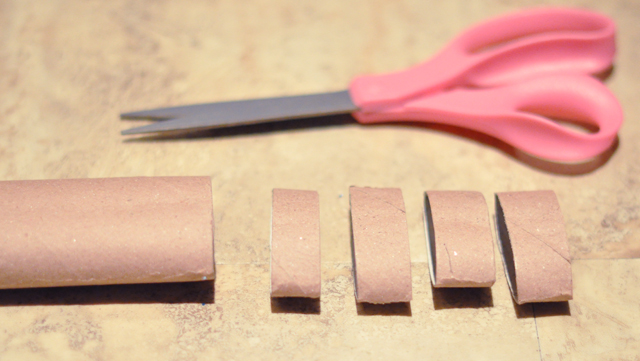
* Flatten your roll slightly and cut about one inch sections.
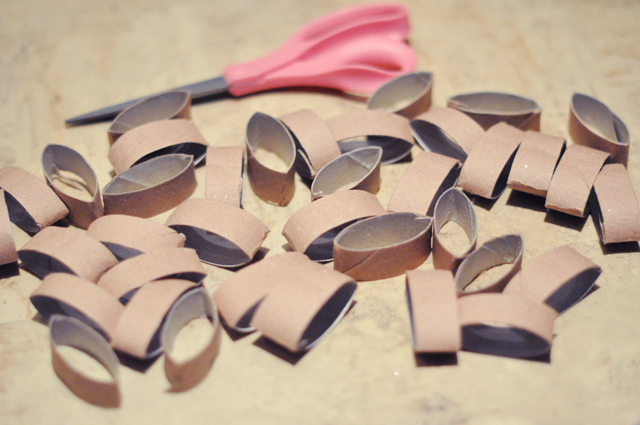
* As many as you need… I used an entire wrapping paper roll and would have used more if I had another one.
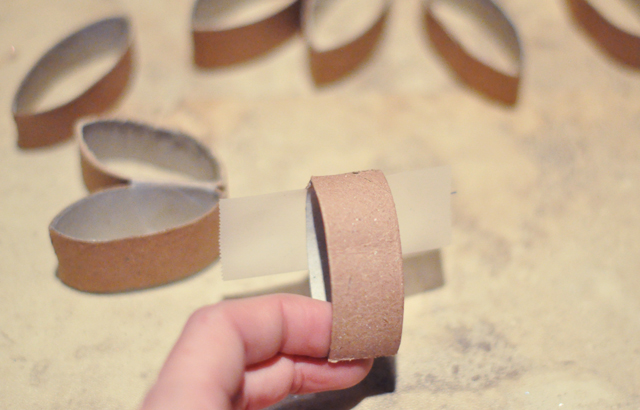
* Begin by placing about a 2.5″ piece of tape nearest the top of your cut-outs, line it up with another one, and tape it together.
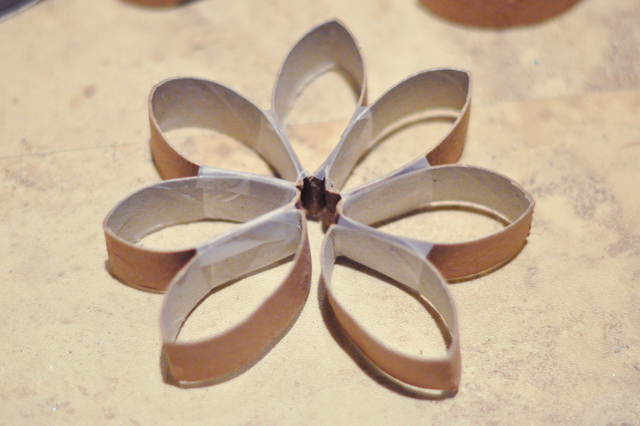
* You will create a flower of sorts, first. If your tree is small, you can stop here, or even create a few of these to string up and hang from your curtain rods or ceiling.
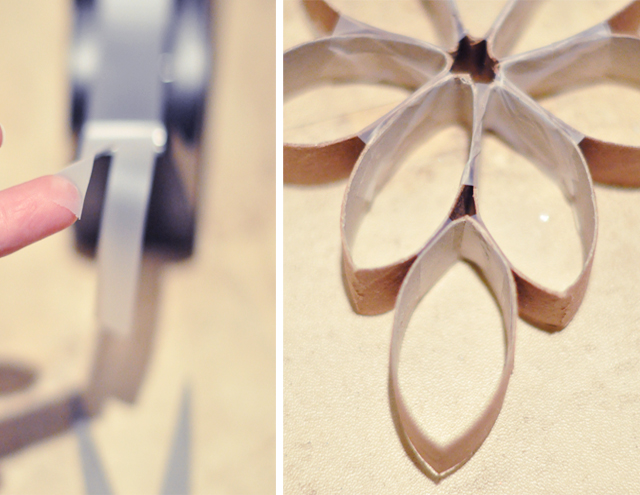
* Continue taping outward but cutting your tape in half, if it’s too wide.
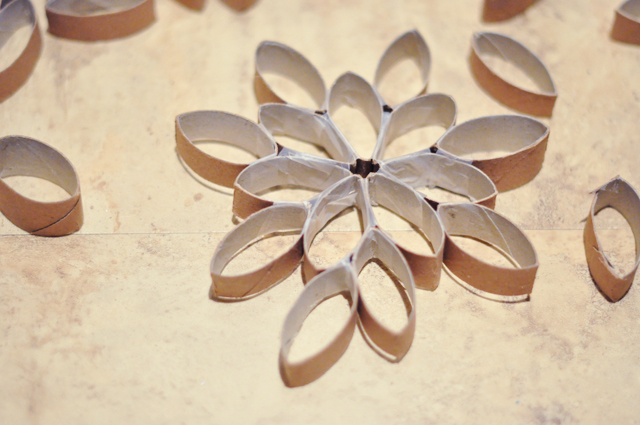
* Keep going until you like the look and size… knowing when to stop was the most challenging part!

* Glitter glue the edges or center or wherever you like or {spray} paint your entire piece.
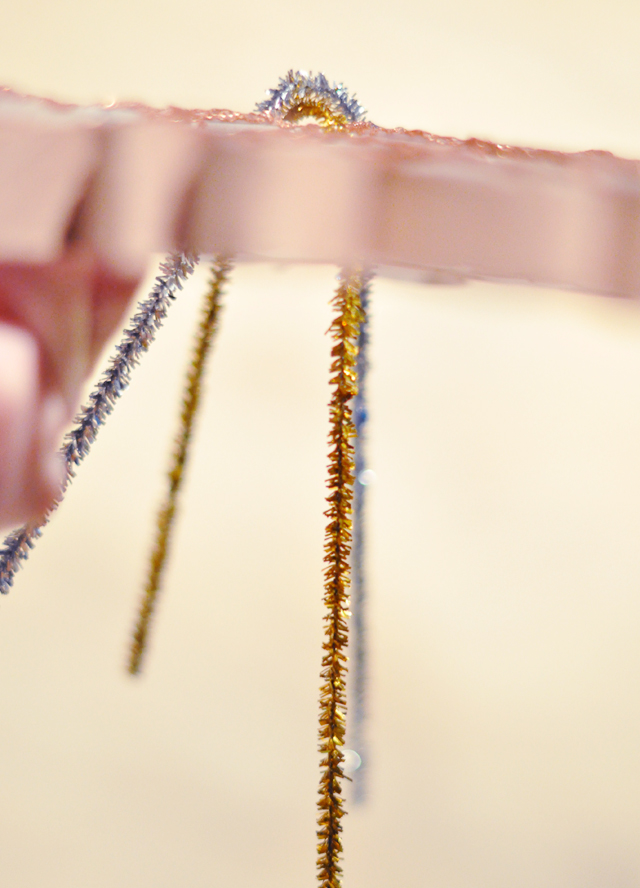
* Bend two {or 4} pipe cleaners and insert them through the center surrounding openings. Twist them in the back into one {with two sides} then use this to attach to your tree top.
Voila…

I strung a few lights up through the back of it to light it up and left my pipe cleaners fanned out for a bit of shimmer in the back.

Have Fun!
* Find all my DIYs Here
* See my finished Rustic Christmas Tree here
* Find my Christmas DIYs here
*
Find all my Manicures & Nail art using Martha Stewart Glitter Glue here