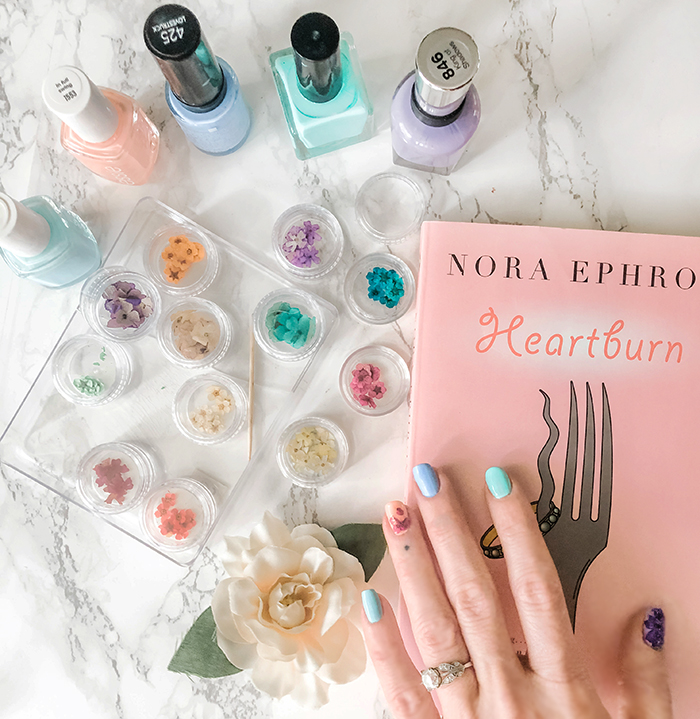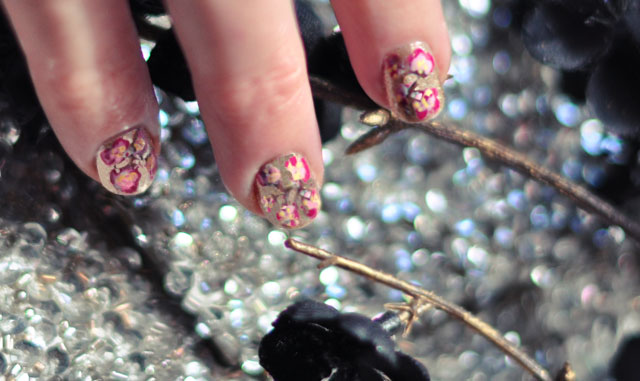
This pretty gold leafed thank you note with pink cherry blossoms sits on my desk at all times. I just love it. And the other day I looked at it and suddenly wanted to try it on my nails. Now I titled it “inspired” because while in person and up close, they look like cherry blossoms, and while positioned next to the inspiration art, they look right on as well. But they’re very hard to photograph and unfortunately this sort of makes them look less than awesome. While I do still really like them in person, I think I’d like to try it again and do fewer flowers per nail, like one per, and/or maybe only do a few accent nails as I did with my last Floral Nail Art Manicure {which I LOVED}. Earlier this year, I did another Spring Blooming Cherry Blossom Nail Art Tutorial, on a white background with a more branched out theme.
But the process of this one turned out really pretty actually… and maybe I should have stopped adding colors while I was ahead.
Here’s What I used…
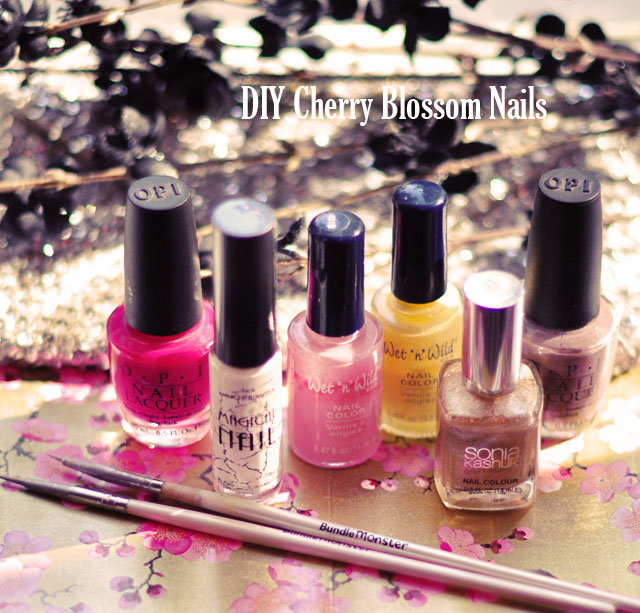
* Sonia Kashuk ~ Golden Ticket
* OPI ~ You Don’t Know Jaques {for the branches}
* OPI ~ Koala Bear-Y
* Random {and old} light pink & yellow polishes by Wet n’ Wild
* Ignore the white, it’s better without it.
* Seche Vite top coat
* Nail Art brush & tool set $14.99 {a fine paint brush and/or toothpick will work as well}

Here’s How I Did it…

Begin by applying two coats of gold polish to your nails and let dry. Using your brown or taupe polish and nail art brush, carefully draw on your branches. A shaky hand actually creates better branches as long as you keep the lines thin. Let dry.
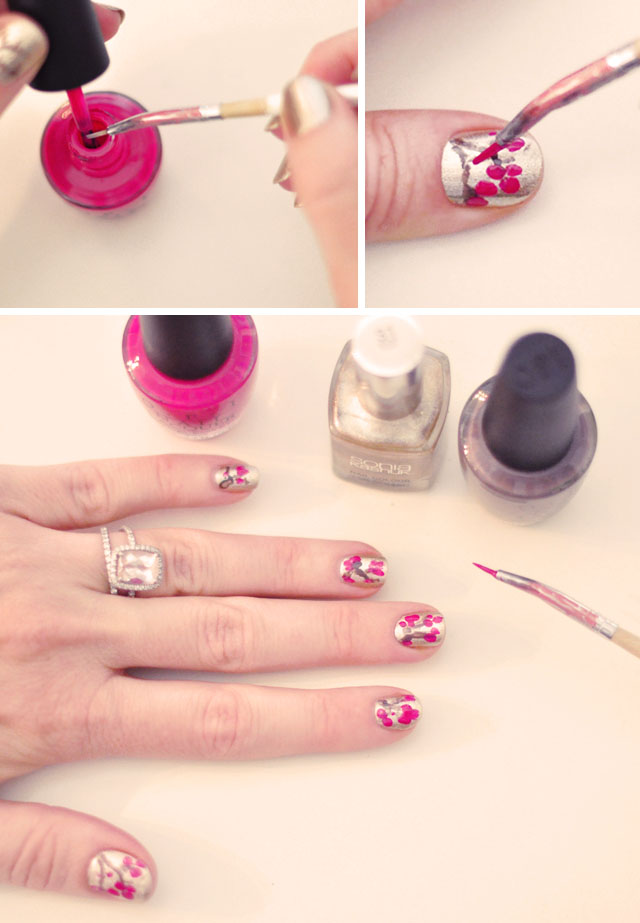
With you darker pink polish, add three medium sized dots to the ends of each of your branches. Let dry.
See this thumb photo below? It was my favorite. I should have stopped here…
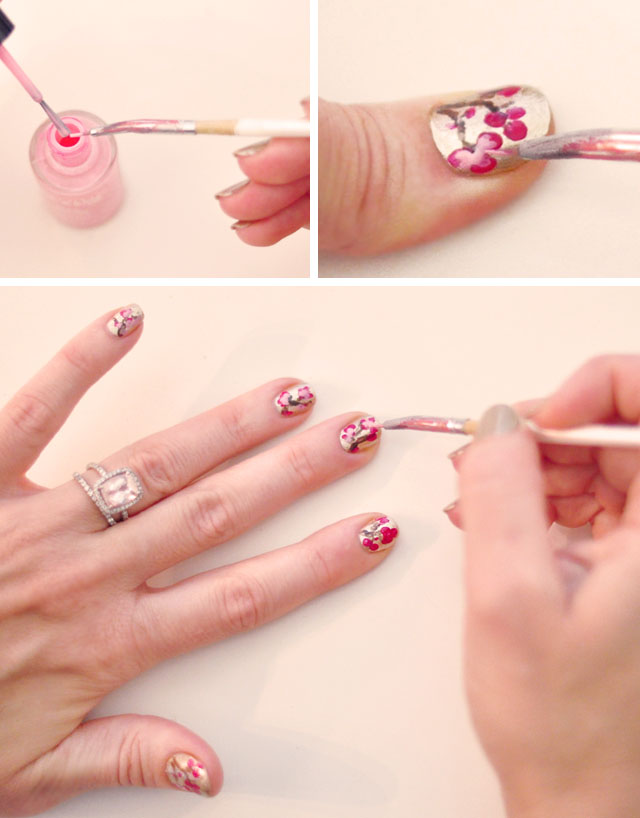
With your lighter pink polish, create dots or even leaves over your dark pink to add depth. Allow your dark pink to show around the edges.
I added white for more depth, but I do not advise. They would have looked better without it.
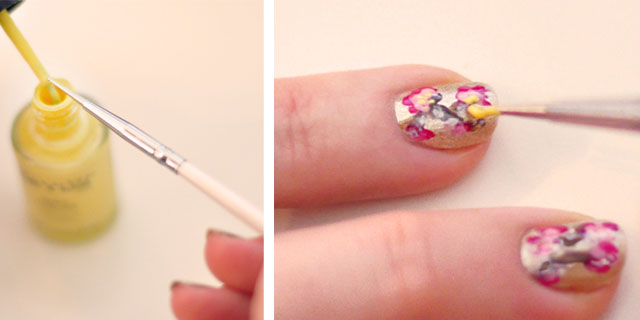
And lastly, and with your tiniest nail art dotter or even a toothpick, carefully add 3-5 small center dots. Let dry and add your top coat.
Voila… Voila!
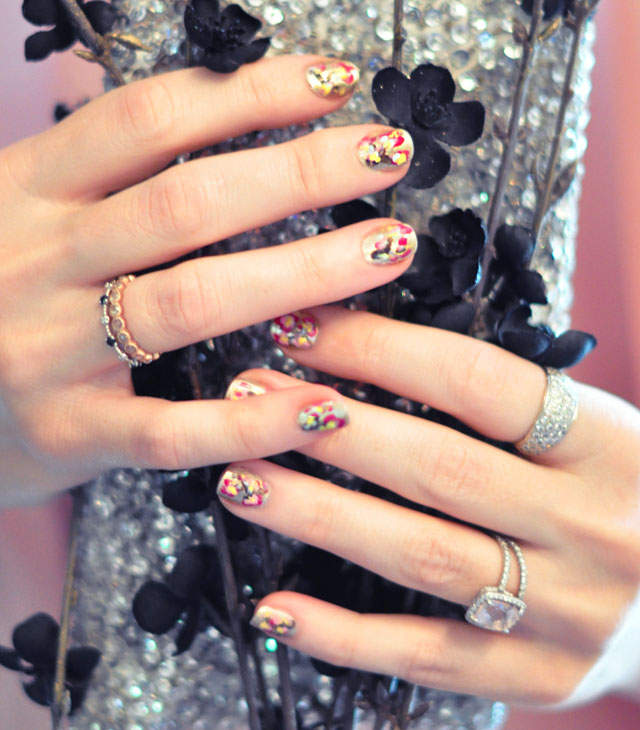
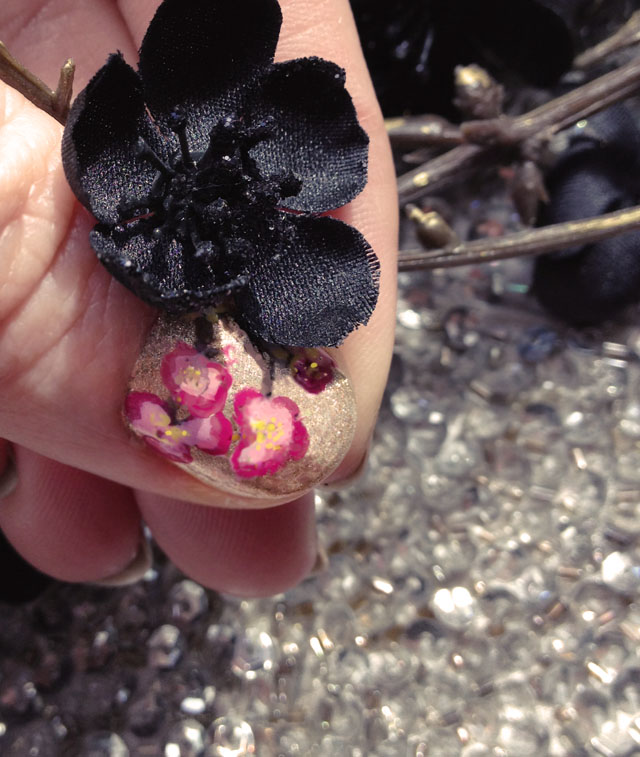
Not my best work, but still pretty 😉
Have Fun!
* Find all my Nail Art Tutorials here